2.26.2009
The End (but not really)
Update your bookmark! Change your blogroll! Subscribe to a new RSS feed! Fuzzy Pictures is no more! Go to the new photoblog HERE!
2.24.2009
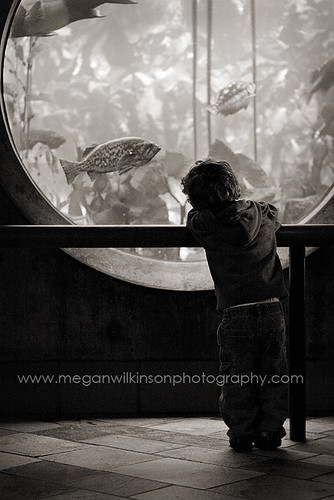
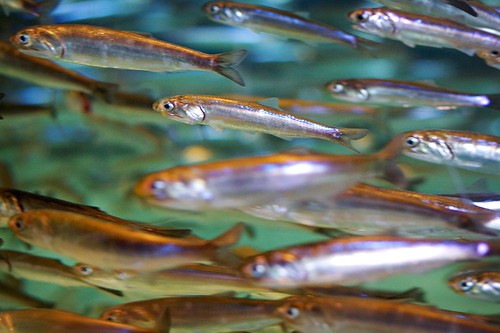
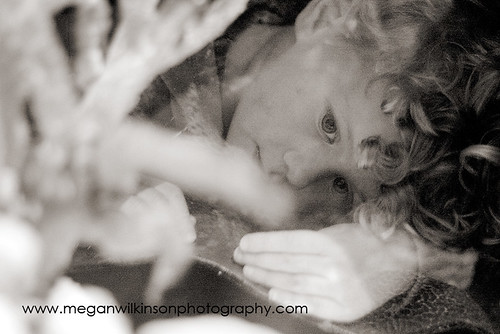
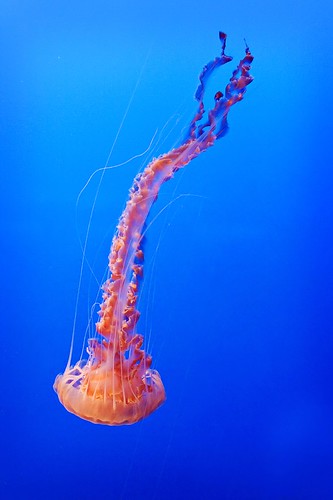
Monterey Recap
I never posted pictures from the actual aquarium...so I'm doing it now. :)
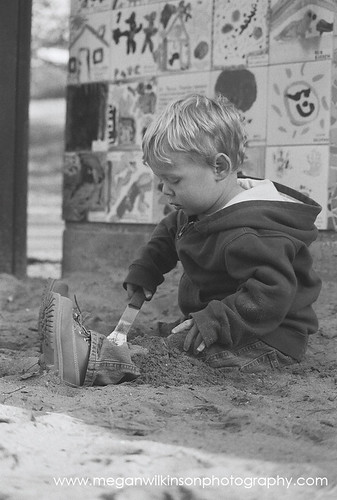
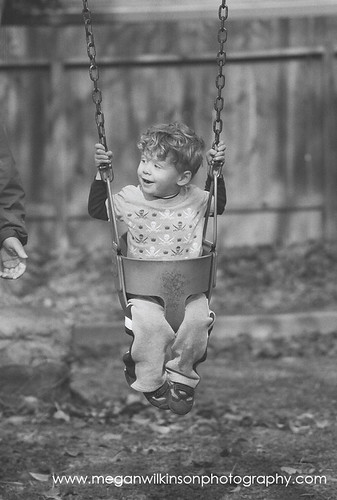
Job was being an octopus
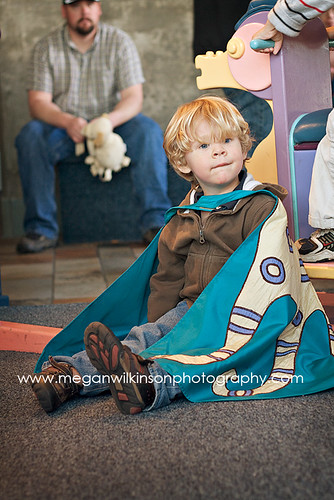
Jerah was getting tired
this is what he was looking at


Check out that hair!

Job was being an octopus
Jerah was getting tired
this is what he was looking at
Check out that hair!
2.21.2009
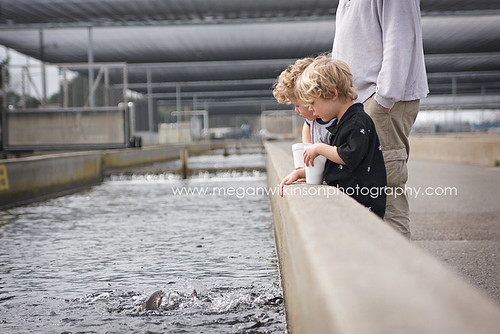
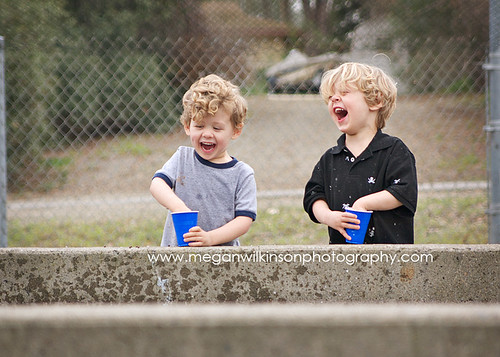
Here fishy fishy fishy!
This afternoon we went to the Nimbus Fish Hatchery. It turned out to be a ton of fun and we actually killed a couple of hours! The boys had an absolute blast feeding the fish!

Oh, and I have a new favorite picture of Jerah!
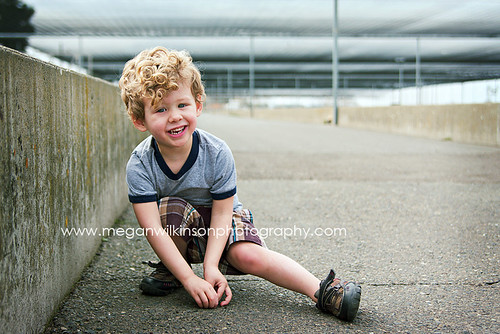
Oh, and I have a new favorite picture of Jerah!
2.19.2009
Skin tones 101
I posted this on my biz blog...might as well post it here too! hopefully the picture sizing wont be too wonky...if it is check the original post over here. I'm having a contest over there anyway (ends tomorrow) so might as well go check that out while you are there. Tell your friend!
I've been getting a lot of requests from photographer buddies on how I process skin tones. I wrote a tutorial a while back but unfortunately its been lost. So, I'm wrote another and decided to post it here instead. Now everyone will get a peek inside my editing workflow. :)
Here is a picture SOOC (straight out of the camera)

On the surface it seems ok...but if you look closely you can see it looks slightly cool, meaning a bit too blue. So how do I fix this? The technique I like is sort of a color by numbers approach. Using CMYK (cyan, magenta, yellow, key) values I look at their ratios and go from there. Generally speaking, Y should be within the 10 point range above M, and C should be about 1/4 to 1/3 the value of Y. Using curves I look at different points on the skin and add or subtract Red, Green, or Blue based on what the CMYK values read. If there is too much Cyan, I add red. If I need more, I subtract red. If there is too much magental I add green...if there isn't enough I'll subtract green. If there is too much yellow I add blue...if there is not enough yellow (I'm sure you can guess) I take away some blue. Confused yet? Lets walk through the image above.

Using my color sampler tool set to 5x5 average I picked a patch of skin on Job's cheek. If you look at the info box to the right you can see that the CMYK values are 10%, 41%, and 26% (don't worry about a value for K). Remember, we want that Y value to be with in 10 points above the M value. Looks like there is not enough yellow to this image (hence why it looks so "cool") so we need to take out some of that blue.

Next open a curves layer, change it to the blue channel and ctrl click on a patch of skin. Using only the arrow keys on your keyboard, hit the down arrow a few times while using your mouse to hover over patches of skin while watching your CMYK values, adjust the blue channel until Y is within 10 points above M. As you can see there the picture looks a bit better but there is still a bit too much Cyan.

To counter act the abundance of cyan we need to add red. Switch to the red channel, ctrl click on another patch of skin, and while using the up arrow on your keyboard add that red until the values are where you like them. The magenta value looks fine to me so I am done! A few more tweaks (contrast, vingette, sharpen) and here is my final edit:

Here are a few more things to keep in mind...the CMYK values will vary on different parts of the skin. Don't stick to just one area...move the color sampler around and get an overall feel for what your curves adjustments are doing. Don't rely just on the numbers...look at the picture as well. If the numbers say one thing but you just obviously added way too much yellow then halt! Keep in mind that shadow areas have more cyan than highlights. Ethnically speaking, there are a few things to be aware of as well. Generally speaking Asian skin has a bit more yellow than Caucasian skin color...and African American skin have more cyan and magenta. Again, use the number system as a guide but also look at the picture as a whole and see what your changes are doing.
Here is a side by side comparison. Let me know if you have any questions! I hope I made this clear. :)

I've been getting a lot of requests from photographer buddies on how I process skin tones. I wrote a tutorial a while back but unfortunately its been lost. So, I'm wrote another and decided to post it here instead. Now everyone will get a peek inside my editing workflow. :)
Here is a picture SOOC (straight out of the camera)
On the surface it seems ok...but if you look closely you can see it looks slightly cool, meaning a bit too blue. So how do I fix this? The technique I like is sort of a color by numbers approach. Using CMYK (cyan, magenta, yellow, key) values I look at their ratios and go from there. Generally speaking, Y should be within the 10 point range above M, and C should be about 1/4 to 1/3 the value of Y. Using curves I look at different points on the skin and add or subtract Red, Green, or Blue based on what the CMYK values read. If there is too much Cyan, I add red. If I need more, I subtract red. If there is too much magental I add green...if there isn't enough I'll subtract green. If there is too much yellow I add blue...if there is not enough yellow (I'm sure you can guess) I take away some blue. Confused yet? Lets walk through the image above.
Using my color sampler tool set to 5x5 average I picked a patch of skin on Job's cheek. If you look at the info box to the right you can see that the CMYK values are 10%, 41%, and 26% (don't worry about a value for K). Remember, we want that Y value to be with in 10 points above the M value. Looks like there is not enough yellow to this image (hence why it looks so "cool") so we need to take out some of that blue.
Next open a curves layer, change it to the blue channel and ctrl click on a patch of skin. Using only the arrow keys on your keyboard, hit the down arrow a few times while using your mouse to hover over patches of skin while watching your CMYK values, adjust the blue channel until Y is within 10 points above M. As you can see there the picture looks a bit better but there is still a bit too much Cyan.
To counter act the abundance of cyan we need to add red. Switch to the red channel, ctrl click on another patch of skin, and while using the up arrow on your keyboard add that red until the values are where you like them. The magenta value looks fine to me so I am done! A few more tweaks (contrast, vingette, sharpen) and here is my final edit:
Here are a few more things to keep in mind...the CMYK values will vary on different parts of the skin. Don't stick to just one area...move the color sampler around and get an overall feel for what your curves adjustments are doing. Don't rely just on the numbers...look at the picture as well. If the numbers say one thing but you just obviously added way too much yellow then halt! Keep in mind that shadow areas have more cyan than highlights. Ethnically speaking, there are a few things to be aware of as well. Generally speaking Asian skin has a bit more yellow than Caucasian skin color...and African American skin have more cyan and magenta. Again, use the number system as a guide but also look at the picture as a whole and see what your changes are doing.
Here is a side by side comparison. Let me know if you have any questions! I hope I made this clear. :)
2.14.2009
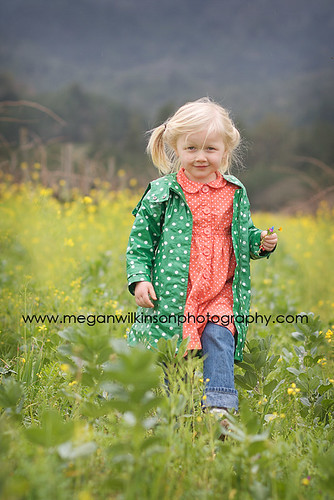
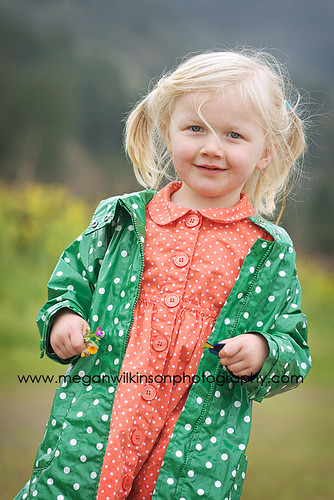
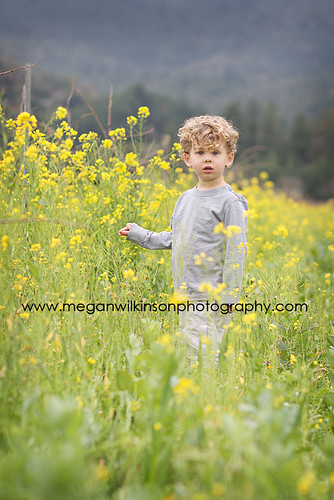
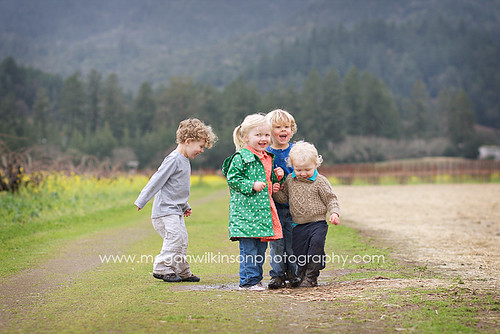
mustard
Yesterday Nicki called about our scheduled playdate. She suggested heading up to St. Helena to check out all the pretty yellow mustard that grows between the grapes at the vineyards. Of course I jumped at the chance!
2.10.2009
1...2...3!!!
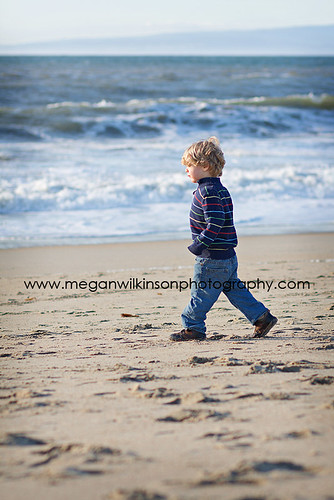
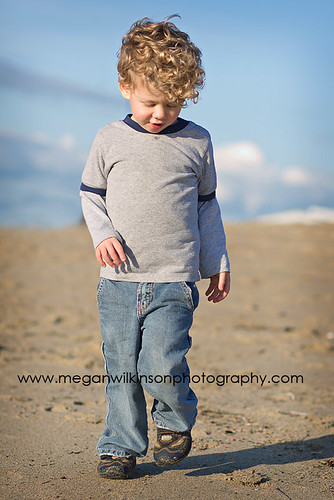
Thats right! Today is the big day...my babies are three!! Instead of having a party this year we went to Monterey with their best friend Shawn. We figured its probably that last time we can get away with not doing anything big. :)
Something fun for their official three year pictures.


Something fun for their official three year pictures.
2.06.2009
Film
I told myself that if I can shoot film, then I really am a photographer. I mean, its easy to get lucky shots shooting digital because you can just fire away and not worry about using up costly film. You have to plan your shots more with film. Anyway, I finally got my first roll back that I started shooting over a year ago. I'm surprised that many turned out, and even better, the more recent ones aren't half bad! It shows that I really have grown this past year as a photographer!
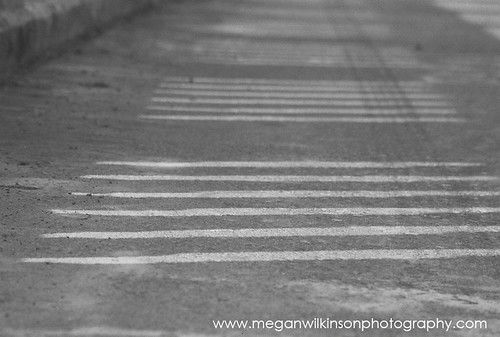
This one is from when I first got the camera. Most of the ones from this day were out of focus or had funky exposure.
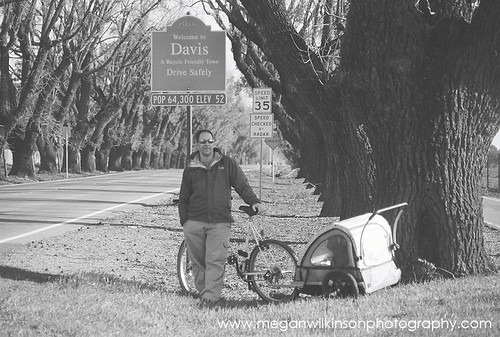
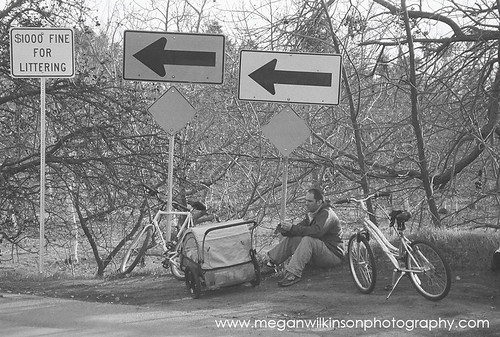
These ones are from our bike ride to davis a while back.
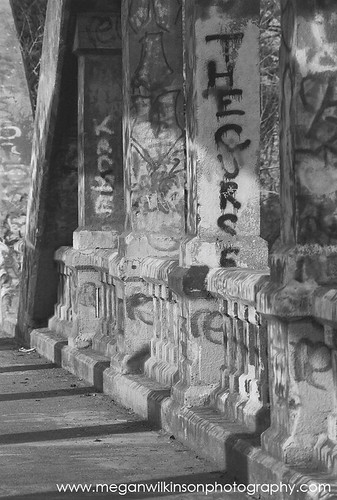

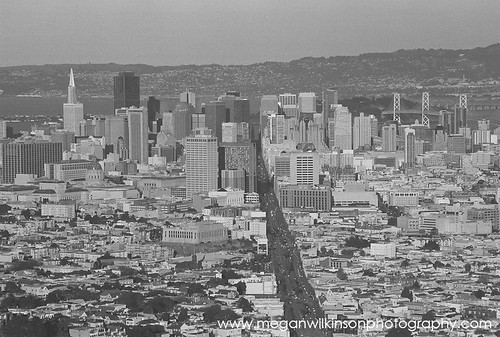
San Francisco from Twin Peaks
This one is from when I first got the camera. Most of the ones from this day were out of focus or had funky exposure.
These ones are from our bike ride to davis a while back.
San Francisco from Twin Peaks
Subscribe to:
Posts (Atom)